


After opening the locket, use a pair of tweezers or a small pin to remove the clear plastic insert from one side of the locket. (The plastic is firm, so it should pop out easily.)
Dig in! Our new food charms are here 🍕🥨🥐🍝
Link
Add your favorite items to your cart.

After opening the locket, use a pair of tweezers or a small pin to remove the clear plastic insert from one side of the locket. (The plastic is firm, so it should pop out easily.)
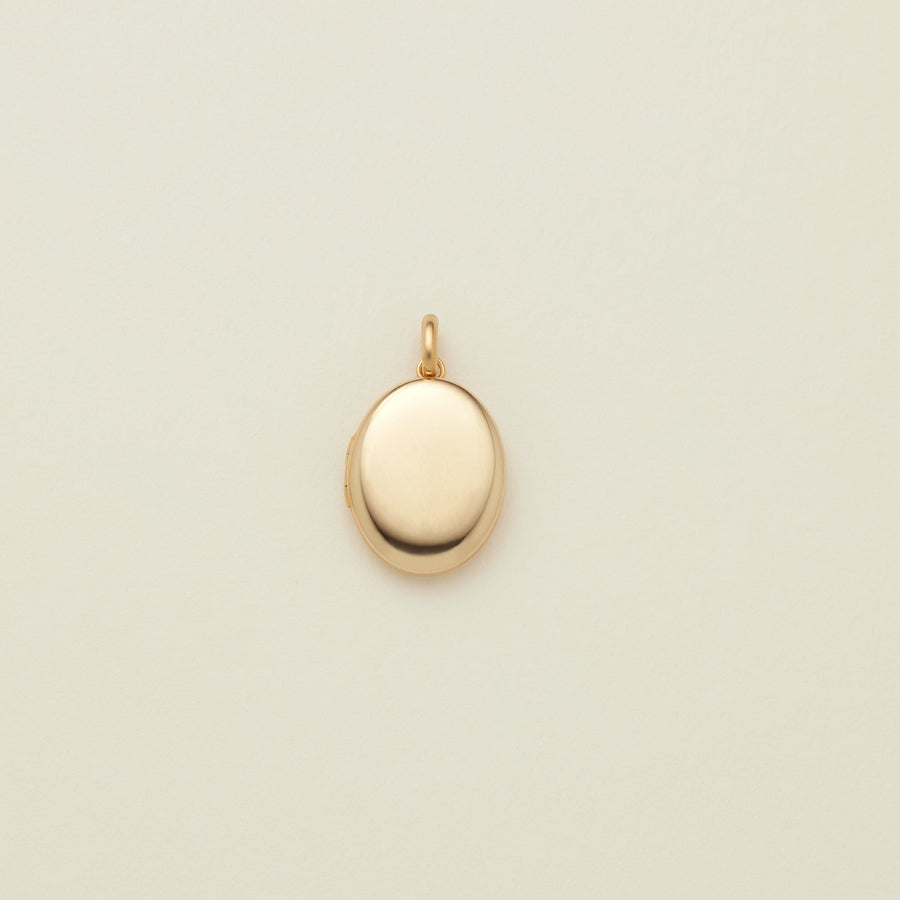
Select your photo. Please note, the size of the photo will be approximately 10mm wide and 15mm tall once it is trimmed, so the photo you select needs to be sized accordingly! The Mini Oval Locket is 8mm wide and 11mm tall.
Use photo paper, not regular copy paper, to print your selected picture.
Place the insert over the photograph to trace an outline.
Carefully cut out the photo and place it inside the locket, then replace the plastic insert on top of the photo.
Use the tweezers or pin to make sure the 4 small tabs on the plastic insert are securely inside the locket. This is an important step to ensure your photo stays in place!
Repeat these steps to add a photo to the other side of your locket.
You can utilize this Canva Template or use the Locket Studio App to help you resize and print images for your locket!
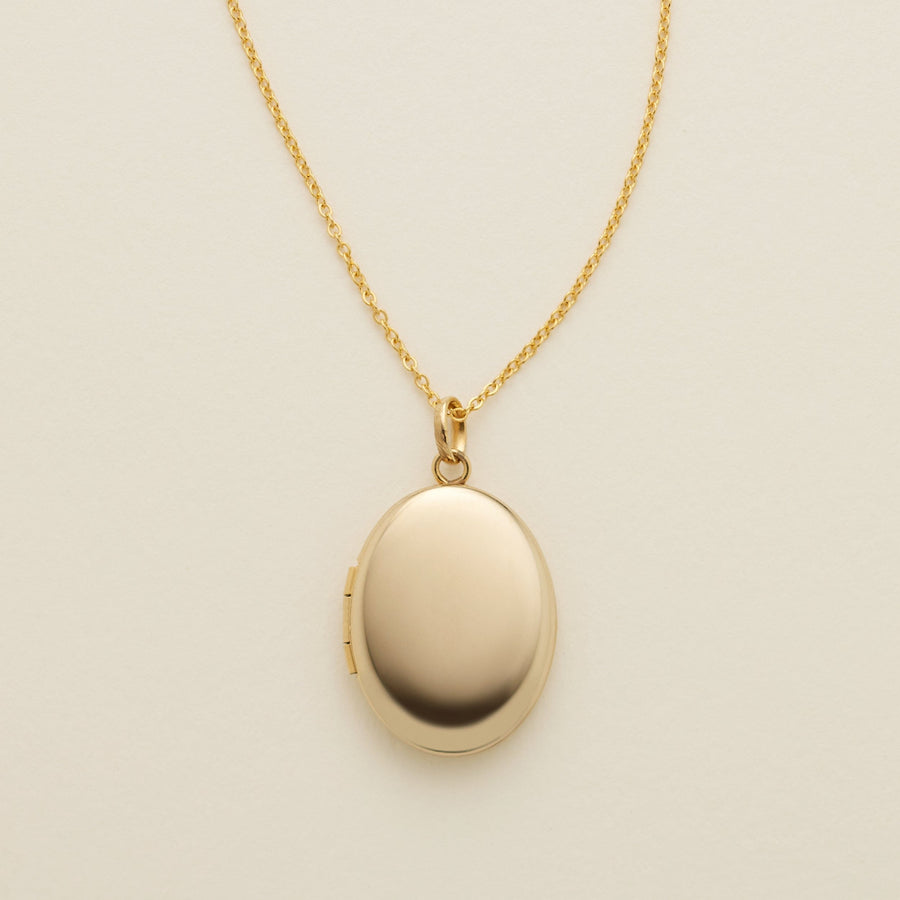
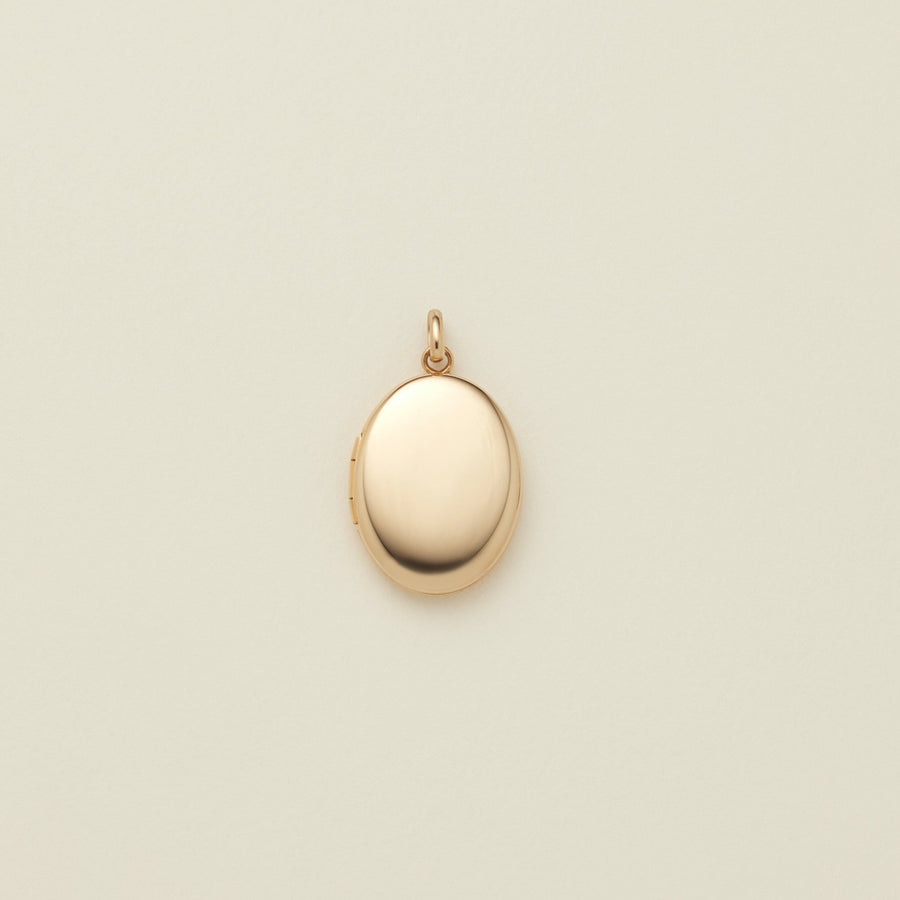
The perfect blend of beauty and benefit, this keepsake closes securely to hold your favorite people, places, moments, or tiny momentos close to your heart.

After opening the locket, use a pair of tweezers or a small pin to remove the clear plastic insert from one side of the locket. (The plastic is firm, so it should pop out easily.)

Select your photo. Please note, the size of the photo will be approximately 10mm wide and 15mm tall once it is trimmed, so the photo you select needs to be sized accordingly! The Mini Oval Locket is 8mm wide and 11mm tall.

Use photo paper, not regular copy paper, to print your selected picture.

Place the insert over the photograph to trace an outline.

Carefully cut out the photo and place it inside the locket, then replace the plastic insert on top of the photo.

Use the tweezers or pin to make sure the 4 small tabs on the plastic insert are securely inside the locket. This is an important step to ensure your photo stays in place!